This guide shows how to add photos to Google Drive without turning the process into a small admin job. I cover the quickest upload routes on desktop and mobile, what to do when you want a cleaner folder structure, and when Google Photos is the better tool for automatic backup. If you manage project images, client assets, or a growing personal archive, the difference between a tidy upload and a messy one becomes obvious fast.
What matters before you upload photos to Drive
- The browser is the simplest option for one-off uploads from a laptop or desktop.
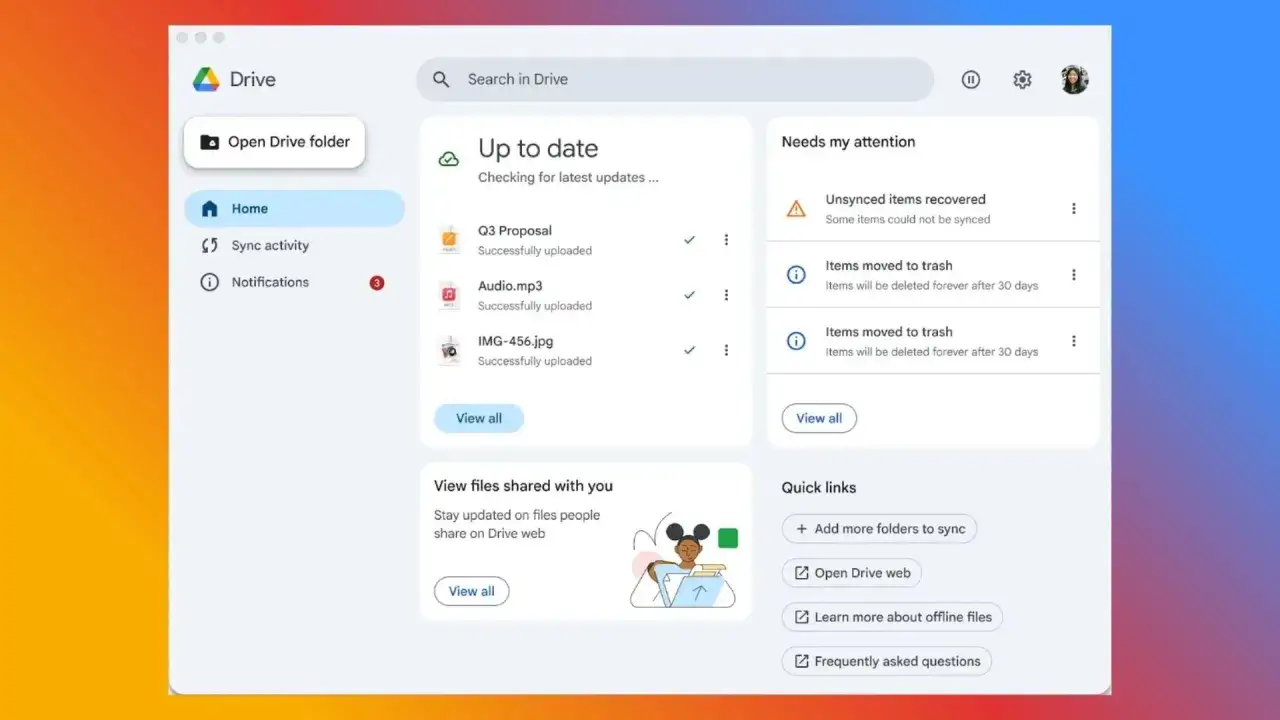
- Drive for desktop is better when you want to move whole photo folders with less friction.
- The mobile app works well for quick uploads from your camera roll, but it is not ideal for big batches.
- Google Photos is the stronger choice for automatic phone backup; Drive is better for organised file storage.
- Each Google Account includes 15 GB shared across Gmail, Drive, and Photos, so storage can fill sooner than expected.
- For creators, Drive is usually best as a project library, not as a dumping ground for every shot you have ever taken.
Choose the upload route that fits the job
When I handle photos in Drive, I start by deciding whether I am uploading a handful of images, a whole folder, or a camera roll from a phone. That choice matters more than people think, because the fastest path on a laptop is not always the cleanest path for long-term storage.
| Method | Best for | Why it works | Trade-off |
|---|---|---|---|
| Browser upload | Occasional uploads from a computer | No extra software, easy file or folder selection | More manual if you do this often |
| Drive for desktop | Large photo folders or repeated uploads | Feels like a normal folder workflow and handles drag-and-drop well | You need the desktop app installed |
| Mobile Drive app | Quick uploads from Android, iPhone, or iPad | Useful when the photos already live on your phone | Clumsy for large batches and detailed organisation |
| Google Photos backup | Automatic camera-roll protection | Hands-off backup on a phone | Different structure from Drive folders |
If I am uploading a clean project folder after a shoot, I prefer a desktop workflow. If I am moving three or four images from my phone to share with a client or a team member, the mobile app is enough. Once you know the route, the upload itself becomes straightforward.
Upload from a computer without breaking your folder structure
The browser method is the one I recommend most often when the photos already sit on a laptop or desktop. It is simple, it preserves the idea of folders, and it works whether you are dealing with edited JPEGs, originals, or a mixed set of images from a project.
- Open Google Drive in your browser and sign in.
- Click New, then choose File upload or Folder upload.
- Select the images you want to upload, or choose the folder if you want the whole batch.
- Wait for the upload to finish before closing the browser tab.
- Check My Drive or the destination folder to confirm everything arrived correctly.
For small batches, drag-and-drop is often quicker than using the menu. For larger sets, I use Folder upload because it keeps the structure intact and saves me from rebuilding it later. That matters when you are dealing with shoots, thumbnails, reference images, or any other project assets you may need to find again.
A practical habit here is to upload into the final folder from the start instead of dumping everything into a temporary holding area. The less moving you do after the upload, the less chance there is of misplacing a file before the next stage of the project.
Upload from Android, iPhone, or iPad
Mobile uploads are useful when the images live on your phone and you want them in Drive right now. I would not use a phone for bulk photo housekeeping, but for a short selection of shots, it is perfectly fine.
On Android
- Open the Google Drive app.
- Tap New, then Upload.
- Select the photos you want to send to Drive.
- Wait for the progress indicator to complete before leaving the app.
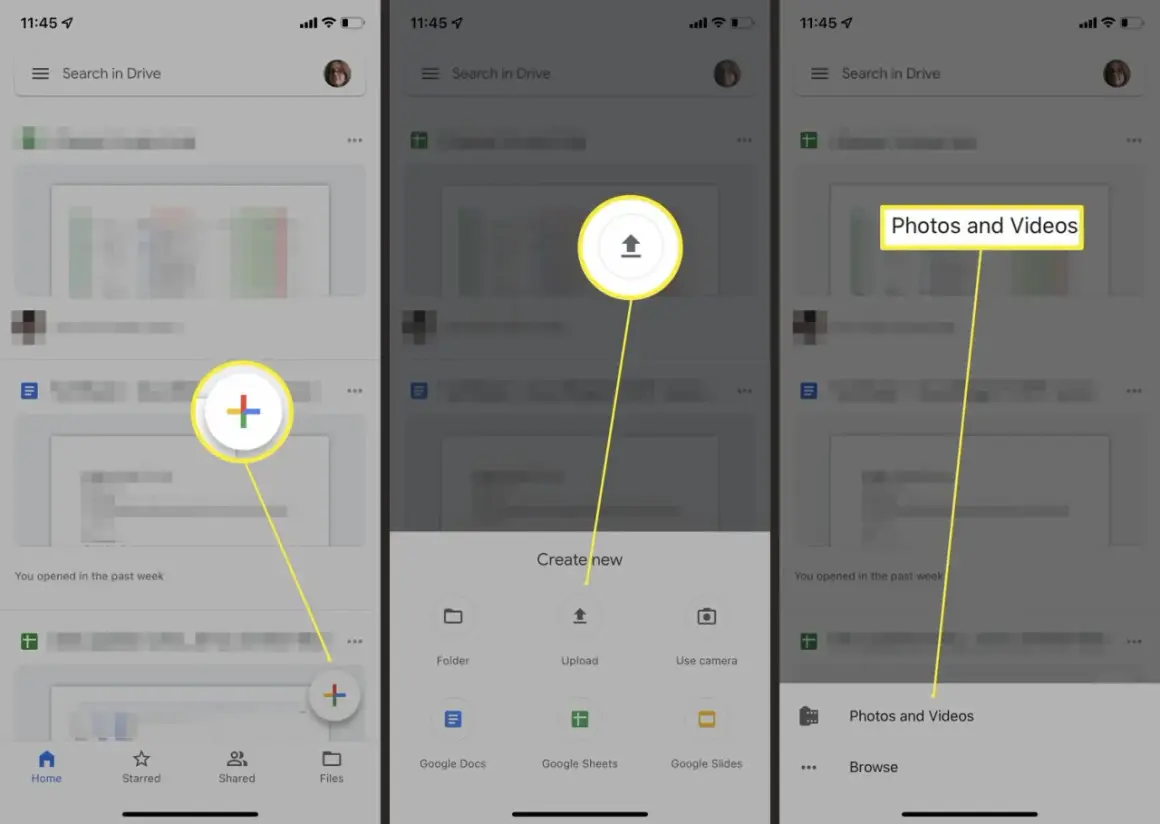
On iPhone or iPad
- Open the Google Drive app.
- Tap Add, then File upload.
- Choose the photos from the source you use on the device.
- Select the destination folder if you want the files placed somewhere specific.
One detail that catches people out is that mobile uploads are usually better for quick transfers than for proper archiving. If the goal is to move a few selects from your phone into a project folder, this works well. If the goal is to back up your whole camera roll, I would usually push you towards Google Photos first and use Drive for the files you actually want to keep organised.
That distinction matters, because the problem after the upload is rarely the upload itself. It is the organisation that comes next.
Keep your photo library organised from the start
Drive is good at storing images, but it only stays useful if you give the files a structure that makes sense later. I treat Drive like a working archive: clear folders, sensible names, and a small number of predictable rules.
Use folders that match the work
For project-based work, I prefer folders built around the date, subject, or client. A folder named 2026-06 London shoot tells me more than a generic Photos folder ever will. If you handle content for video production, that same logic helps with thumbnails, still frames, reference images, and brand assets.
Separate originals from exports
Original camera files, edited exports, and social crops should not live in the same pile unless the project is tiny. I usually keep a simple split: originals in one folder, selected exports in another, and final deliverables in a third. That makes it easier to find the version you actually need without opening five similar files.
Rename files before they become a problem
Files named IMG_4821 and IMG_4822 are tolerable for a day and annoying forever after. A better naming pattern is short and descriptive, such as clientname_shot01.jpg or london-street-03.png. I care less about perfection than consistency, because consistency is what makes search usable.
Read Also: Dropbox Alternatives - Best Free Cloud Storage Options
Be deliberate with shared folders
Shared folders are useful when a team needs access, but they are not a free pass to ignore storage or ownership. If you upload into a folder owned by someone else, the file still counts against your Google storage. That is fine when everyone understands the setup, but it can create confusion if nobody is tracking where the quota is going.
Once the photo library has structure, you can make a more informed decision about whether Drive should hold everything or only the files that genuinely benefit from cloud access.
Know the storage limits and when Google Photos is the better choice
The biggest mistake I see is treating Drive like an infinite photo vault. It is not. Google’s help notes that each account starts with 15 GB shared across Gmail, Drive, and Photos, so a couple of large shoots or a lot of high-resolution images can eat through that faster than expected.
Drive itself is broad about what it can store. Google documents support for image files and also notes that Drive can store any file type, so the real constraint is usually not format. It is storage, workflow, and how much time you want to spend finding things later.
- Use Drive when you want folders, sharing, and project-based organisation.
- Use Google Photos when you want automatic phone backup with less manual effort.
- Keep an eye on large uploads, because Google also documents a 750 GB per day upload and copy limit for users.
- Remember that uploading to a shared folder does not make the storage problem disappear.
If your real goal is to protect the entire camera roll on a phone, Google Photos is the more natural home. If your goal is to store deliverables, selects, research images, or production assets in a way that matches how you work, Drive is the better fit. That is the separation I keep in my own workflow, and it removes a lot of pointless friction.
With the limits clear, the last step is building a photo workflow that stays simple even when the library grows.
What I would keep in place for a clean photo archive
For most people, the cleanest setup is not complicated. I would keep Drive for the images you actually need to revisit, share, or organise, and leave automatic camera backup to Google Photos. That keeps the folder system useful instead of bloated.
- Upload finished or selected images, not every accidental shot.
- Keep a local copy until you have confirmed the cloud upload completed.
- Use a folder structure that mirrors your project work, not just your device folders.
- Review storage before a large shoot so you do not run into a quota surprise halfway through.