The fastest route is a manual upload into a dedicated Drive folder
- Android users can upload through the Drive app with a few taps, then move the files into a folder if needed.
- iPhone and iPad users can upload through the Drive app and choose the destination with Location.
- Google storage is shared across Drive, Gmail, and Photos, so a photo transfer can use space faster than expected.
- Drive is better for organised file storage; Google Photos is better when you want automatic camera-roll backup.
- Wi-Fi and a stable account sign-in make the biggest difference when uploading larger batches.
The cleanest way to choose the right upload method
I usually separate this into three practical choices. If you want full control over where the files land, use the Drive app. If you only need to send a few images quickly, the share sheet from your gallery is faster. If the app refuses to cooperate, the mobile browser can work as a fallback, but it is rarely the most comfortable option.
| Method | Best for | Strength | Trade-off |
|---|---|---|---|
| Drive app upload | Batch transfers and folder control | You decide where the photos go | More taps than a simple share action |
| Gallery share sheet | One-off or small transfers | Fast and familiar | Less tidy if you are moving many files |
| Mobile browser | Fallback use | Handy when the app is misbehaving | Slower and less elegant on a phone |
For most people, the Drive app is the sensible default. It keeps the process predictable, and that matters more than saving one tap.
Android steps that keep the upload orderly
On Android, the basic flow is straightforward, but the details matter if you want the photos in the right place from the start. Google Drive Help notes that uploaded files appear in My Drive until you move them, so I recommend thinking about the destination folder before you begin.
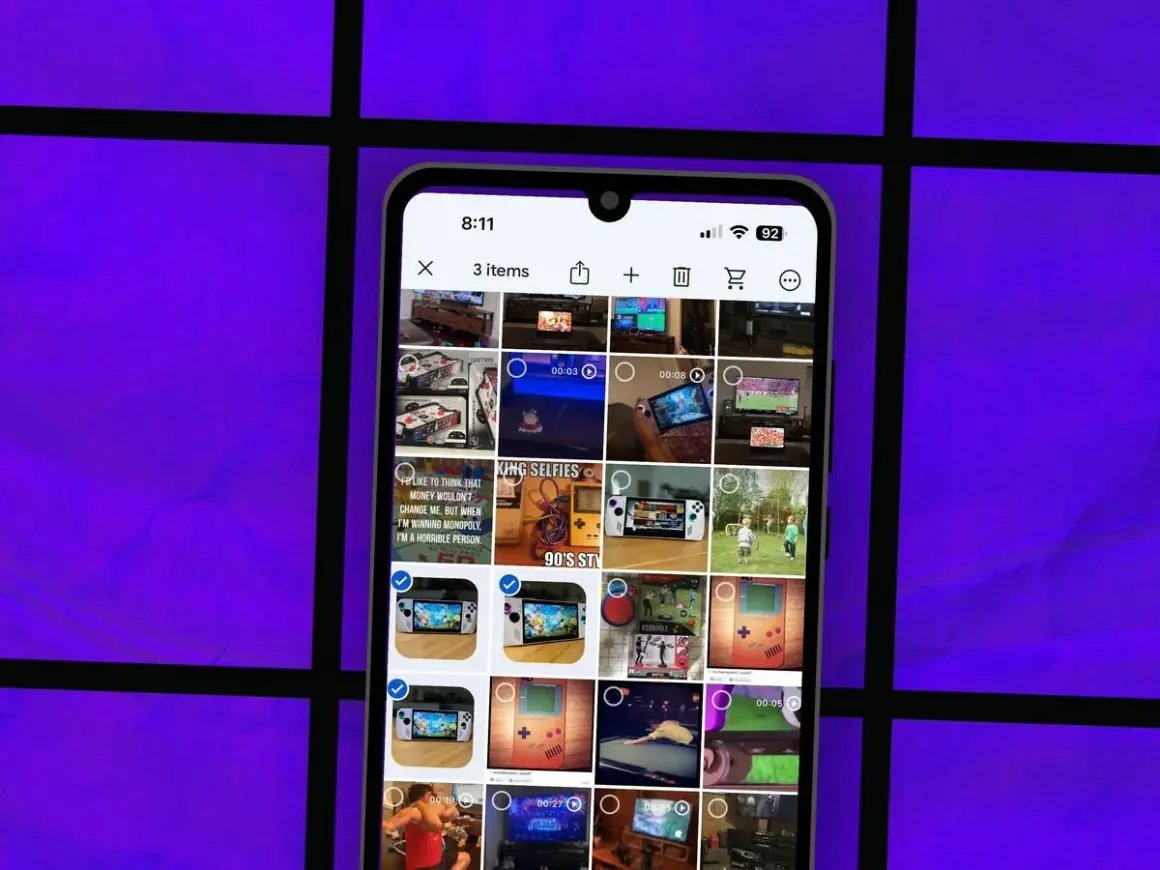
- Open the Google Drive app and confirm you are signed into the correct Google account.
- Tap New, then choose Upload.
- Browse to your photos in the gallery or file picker.
- Select the images you want to move. For a large batch, keep it grouped by album or event.
- Wait for the upload to finish before switching apps or letting the phone go to sleep.
- Open My Drive and move the files into a folder if they landed in the top level.
If your phone supports it, keeping the screen awake and using Wi-Fi makes the transfer more dependable. That is especially true when you are sending recent camera-roll shots plus a few larger images from edited exports or screenshots. Once the Android flow is working, the iPhone version is almost the same idea, just with a different set of buttons.
iPhone steps and where the folder choice matters
On iPhone and iPad, the Drive app gives you good control, and the folder selection step is the part people often miss. The upload path is simple: open Drive, add the files, and choose where they should live. If you skip the location step, you can end up with a tidy upload that is still awkward to find later.
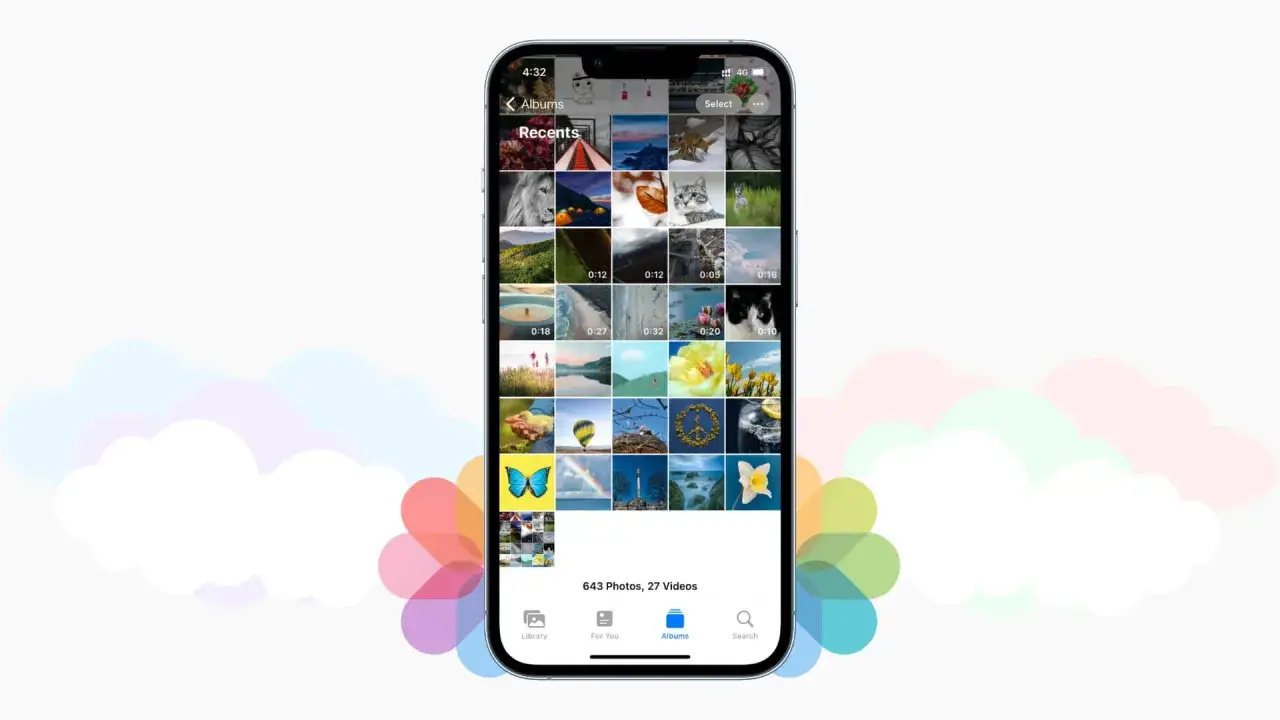
- Open the Google Drive app.
- Tap Add, then choose File upload.
- Pick the photos from Recents, an album, or the Files app, depending on where they are stored.
- If the app offers Location, choose the target folder before confirming the upload.
- Let the progress bar complete before closing the app.
I prefer this route when I want a proper archive rather than a loose pile of images. If you only need to move one or two pictures, the iOS share sheet can be faster, but the Drive app gives you cleaner folder control. That difference becomes much more visible once you are handling trips, work shoots, or family albums instead of a handful of snapshots.
How to keep a photo library usable after the transfer
A cloud folder is only useful if you can still find things six months later. I like simple structures because they scale without much effort: by year, by month, or by event. Anything more elaborate tends to collapse under its own weight unless you are managing a professional archive.
| Folder structure | Example | Best use case |
|---|---|---|
| Year then month | 2026 / 06 June | Ongoing phone backups |
| Event based | Travel / Edinburgh / June | Trips, projects, and one-off shoots |
| Client or purpose based | Client A / Social assets | Work files and creator assets |
If you create folders before uploading, you avoid the common habit of dumping everything into the root of Drive and promising yourself you will sort it later. That promise rarely ages well. A little structure at the beginning saves far more time than a cleanup session at the end.
The mistakes that usually slow uploads down
Most upload problems are not mysterious. They usually come down to permissions, storage, connectivity, or account confusion. Google’s storage is shared across Drive, Gmail, and Photos, so a phone with lots of images can hit the limit earlier than people expect. A personal Google account still comes with 15 GB shared across those services, which is enough for many users but easy to exhaust if you also save email attachments and backups.- Wrong account selected - Check whether the app is using your personal or work Google account before uploading.
- Storage is full - Free space in Drive, Gmail, or Photos if the account is near its limit.
- Permissions are blocked - Grant photo access if the app cannot see your camera roll.
- Background restrictions are too aggressive - Battery saver or strict data settings may pause uploads when you leave the app.
- Weak connection - Large batches are much safer on Wi-Fi than on a flaky mobile signal.
- Duplicate tapping - If the app seems slow, wait; tapping upload twice can create unnecessary duplicates.
When something fails, I start with the account and storage check because those two issues explain a large share of upload problems. Once those are clear, the remaining issues are usually minor and easy to fix.
When Drive is the right target and when Google Photos makes more sense
Drive and Photos solve different problems, even though they are both cloud services from Google. I use Drive when I want folders, manual control, and a file-based archive. I use Google Photos when I want automatic camera-roll backup and a gallery-style view of my images. That distinction matters more than people expect, especially if they assume one service will behave like the other.
For a one-time transfer, Drive is the cleaner choice. For an ongoing phone backup routine, Photos is often easier to live with because it keeps taking care of the camera roll in the background. If your goal is to share a specific folder with a collaborator, editor, or family member, Drive is usually the better fit because it behaves like a normal file system rather than a photo library.
My rule is simple: if I care about organisation, use Drive; if I care about automatic capture, use Photos. That keeps the decision practical instead of ideological, and it avoids the common mistake of forcing the wrong tool to do the wrong job.
A workflow that keeps phone photos portable in the long run
The best routine is boring in the right way. Create the folder first, upload over Wi-Fi, and verify that the images actually reached Drive before clearing space on your phone. If the batch matters, open it from another device and check that the thumbnails and file count look correct. That extra minute is worth it.
For anyone storing photos alongside video projects, I would go one step further and keep separate folders for stills, exports, and raw captures. It is a small habit, but it stops the archive from becoming a catch-all container. A clean Drive structure makes it easier to reuse images later, share them without confusion, and recover them quickly when you need them most.If you only remember one thing, make it this: upload first, verify second, clean up the phone last. That sequence keeps the process safe, tidy, and repeatable.