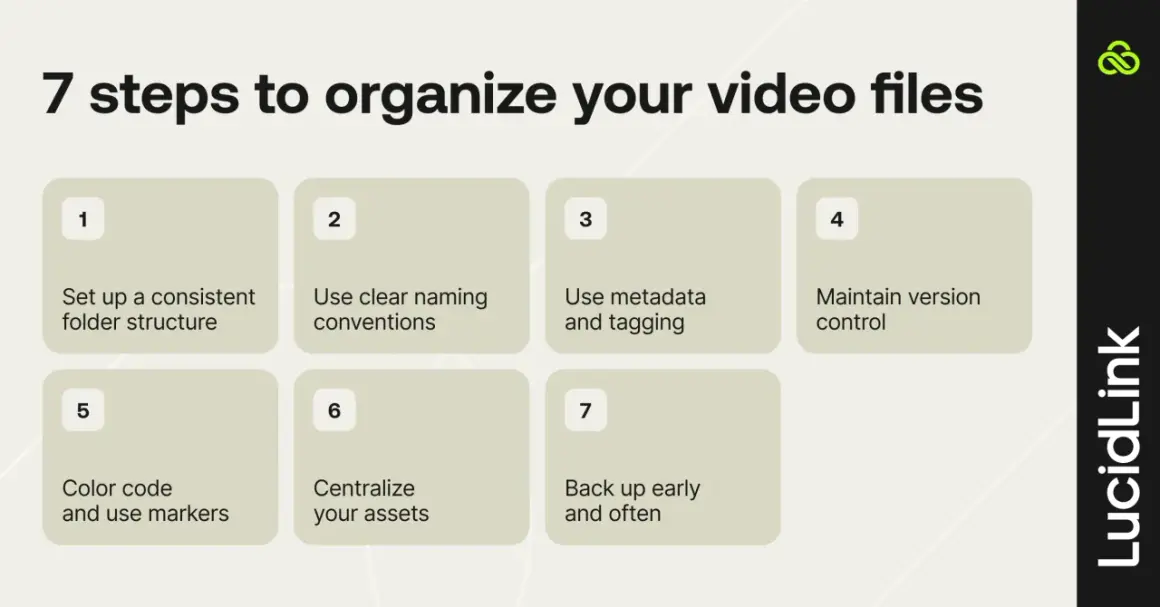
Before I touch the timeline, I want the media to be boringly predictable. Knowing how to organize video files for editing is less about making folders look tidy and more about making every clip, audio take, graphic, proxy, and export easy to find later. If the structure is clear from day one, the edit moves faster, relinking is safer, and the archive remains useful after the project is finished.
The practical rules that keep an edit searchable and safe
- Use one repeatable folder structure for every project, not a new system each time.
- Name files so they still make sense without opening them.
- Copy camera media with verification before you start editing.
- Keep proxies, renders, and exports separate from source footage.
- Add metadata when folders stop being enough for search and collaboration.
- Move to a DAM or MAM only when shared access, permissions, or reuse really justify it.
Start with a folder structure that mirrors the edit
I usually begin with one project root folder and a handful of top-level folders that match the way the edit actually happens. That keeps the project readable for me, for a freelancer stepping in later, and for anyone who needs to relink media after a break.
A simple structure is usually enough:
| Folder | What goes inside | Why I keep it separate |
|---|---|---|
01_Ingest |
Camera card copies, audio dumps, stills from set, script notes | Keeps originals intact and makes the import step easy to audit |
02_Project |
NLE project file, autosaves, databases, XML or AAF exports | Separates editorial work from source media |
03_Audio |
Voiceover, music, sound effects, mixdowns | Makes sound assets easy to reuse and licence-check |
04_Graphics |
Logos, titles, lower thirds, stills, LUTs, thumbnails | Stops design files getting buried inside footage dumps |
05_Exports |
Review exports, finals, social cutdowns, masters | Prevents deliverables from being mistaken for source files |
99_Archive |
Closed versions, approvals, release notes, old deliverables | Gives finished work a clean home without cluttering active projects |
I also like to keep reusable assets in a separate library outside active jobs. That way, stock clips, branded motion packs, and evergreen music do not get duplicated inside every project. It is a small discipline, but it saves a lot of filing noise later. Once that structure is in place, naming becomes much easier to control.
Name files so they still make sense six months later
File names are not decoration. They are search tools. A strong naming convention lets me identify a clip, a version, and a source at a glance, which matters far more than making the name look clever.
I prefer a pattern that is short, consistent, and machine-friendly, such as:
Client_Project_Camera_Shot_Take_v03.ext
| Bad name | Better name | Why it works better |
|---|---|---|
final_final_v7.mov |
BrandLaunch_Interview_A_camB_Take03_v07.mov |
Tells me the project, source, take, and version without opening the file |
untitled.mp4 |
UKClient_ProductDemo_01_Overview_v01.mp4 |
Gives the asset a real identity and avoids guesswork in search results |
IMG_4821.mov |
Campaign_SocialShot_CamA_A001_TK02.mov |
Preserves meaning after cards are offloaded and renamed |
- Use one naming pattern across footage, project files, graphics, and exports.
- Put the most useful information first, especially project and shot identity.
- Use version numbers only for real revisions, not every time you save a thought.
- Be consistent with separators such as underscores or hyphens.
- Avoid spaces if files move between tools, drives, or operating systems.
Build an ingest and backup routine before editing starts
The fastest way to create chaos is to edit from an unverified dump. I do not trust a folder full of copied clips until I know the transfer is complete, the originals are safe, and I have at least one verified backup.
- Copy media from the card to the project drive using a verified transfer tool or checksum copy.
- Confirm that file counts, folder structure, and sizes match the source.
- Keep the original card untouched until the backup is confirmed.
- Make a second copy to another drive before formatting or reusing the card.
- For anything important, add an off-site or cloud copy as the third backup.
A checksum is just an integrity check that compares the original file and the copy bit for bit. It sounds technical, but in practice it is a simple way to catch a bad transfer before it becomes an editorial problem. I treat that step as part of organisation, not as optional insurance.
The 3-2-1 rule still matters here: three copies, on two different media types, with one copy stored off-site. For commercial work, long-form documentaries, and anything with repeat revisions, I would rather be slightly conservative than spend a morning rebuilding a damaged ingest. Once backups are reliable, the next thing I isolate is the work-in-progress clutter.
Keep proxies, renders, and exports out of the way
Editing slows down when temporary files sit next to source media. I separate working files so I can delete, regenerate, or move them without worrying about original footage.
- Proxies are low-resolution stand-ins for heavy camera files, useful when the full-quality media is too slow to cut with smoothly.
- Render cache contains temporary playback files created by the software to speed up effects and previews.
- Exports are the review files, finals, and social versions that leave the edit system.
- Autosaves are safety copies of the project file and should never sit in a place where they can be mistaken for source media.
- Transcodes are converted files made for compatibility or easier playback, and they should be labelled clearly so they are not confused with originals.
If storage is tight, I am flexible about where review exports live, but I never mix them with raw camera files. I also keep caches on a fast SSD when possible, because that protects playback speed without polluting the media folder. Proxies are especially useful on large projects, but they only help if they are clearly named and easy to swap back to full-resolution media. Once those working files are separate, metadata becomes the real search tool.
Use metadata when the project grows beyond one person
Metadata is the searchable context attached to an asset. A folder tells me where a file lives; metadata tells me what it is, who owns it, what version it is, and whether I am allowed to reuse it.
| Metadata field | Why it helps | Example |
|---|---|---|
| Project | Groups related assets quickly | Spring campaign |
| Camera or source | Finds alternate angles and takes | Cam B |
| Shoot date | Sorts material chronologically | 2026-06-18 |
| Licence or rights status | Reduces accidental reuse of restricted assets | Licensed until Dec 2026 |
| Status | Separates draft, review, approved, and archived assets | Approved |
| Contributor | Clarifies ownership and follow-up | Freelance sound recordist |
approved, another writes final, and a third writes client ok, search becomes fragile. The same applies to tags, labels, and status fields: pick a small set and use it everywhere. That is the point where basic file management starts turning into digital asset management.
Know when a DAM or MAM system is worth it
For a solo editor or a small team, a disciplined folder system is often enough. Once the work grows into shared libraries, permission levels, approvals, and repeat reuse, I start thinking about a DAM. If the workflow is more video-heavy and needs stronger handling of large moving-image libraries, a MAM can be the better fit because it is usually built around media-first workflows rather than broad asset storage.
| Situation | Best fit | Why |
|---|---|---|
| Solo editor working on a few projects at a time | Manual folder system | Fast, inexpensive, and easy to keep under control |
| Small team sharing media on a NAS or cloud drive | Folder system plus lightweight DAM features | Central access cuts down duplicates and version mistakes |
| Agency with multiple clients and approval rounds | DAM | Search, permissions, and version control become genuinely useful |
| Large media library with heavy ingest, proxying, and reuse | MAM | Better suited to video-first lifecycle management |
I think of DAM as the governance layer on top of the media. It helps people find, approve, reuse, and retire assets without turning every project into a scavenger hunt. That is especially useful when the archive matters as much as the current cut. Even then, the daily habits still decide whether the system stays clean.
The small habits that keep projects clean after delivery
The best file system in the world will drift if the team treats organisation as a one-time task. I make a few habits non-negotiable because they protect the edit long after the deadline passes.
- Create the root project folder before the first ingest, not after the first problem.
- Keep a short
READMEor project note with frame rate, codec, colour space, audio settings, and any relink warnings. - Separate raw media, proxies, cache, exports, and archive folders every time.
- Store final masters and review exports in different places.
- Back up before you trust the project, and verify before you delete the card.
- Archive the whole project once delivery is approved, including release notes and licence documents where relevant.
When I keep the system simple, repeatable, and searchable, the edit stays moving and the archive stays useful. That is the standard I use: if a project can be reopened, relinked, and handed to someone else without a rescue mission, the organisation is good enough. If it cannot do that, the folder tree is the part that needs fixing, not the timeline.