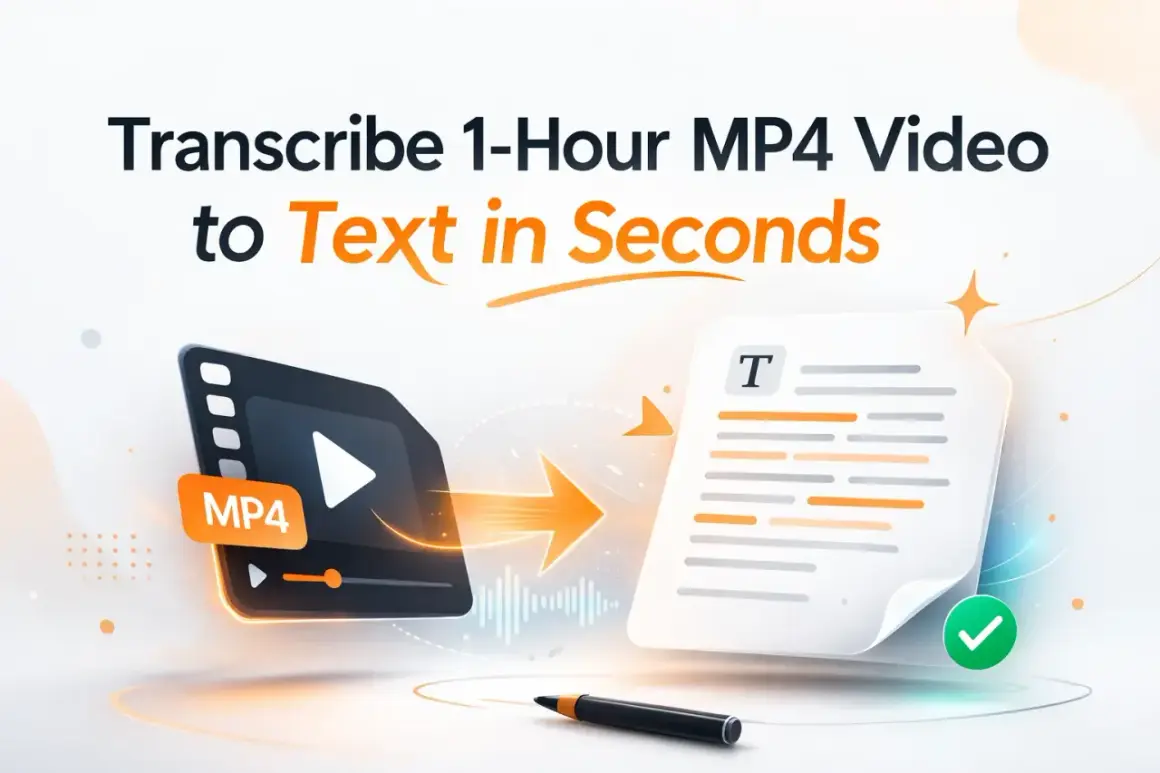
Turning an MP4 into a usable script is less about fancy software and more about getting clean, reliable text out of spoken video. The practical side of mp4 to script work is choosing the right workflow, fixing weak audio, and editing the first draft so it reads naturally in English. In this guide I cover what the output really is, how to move from video file to transcript, when to extract audio first, and how to turn the result into captions, notes, or publishable copy.
The quickest wins come from treating transcription as editing, not just conversion
- MP4 is a container, not the transcript itself, so audio quality matters more than video resolution.
- The best default workflow is upload, generate a draft transcript, then clean and format it for the final use case.
- AI transcription is fastest for a first pass, but names, jargon, and crosstalk still need human review.
- Caption files and readable scripts are different outputs, so choose the export format before you start editing.
- For UK-facing content, keep spelling, dates, and currency consistent so the script feels native to the audience.
What a script actually means when the source is an MP4
In most cases, people want one of three things: a verbatim transcript, a cleaned script, or a subtitle file. A transcript captures what was said as closely as possible, including pauses, false starts, and filler words. A cleaned script keeps the meaning but removes the clutter, which is usually what you want if the text will be read by humans rather than checked line by line against the recording.
Subtitles sit somewhere else again. They are time-coded, shorter, and broken into chunks that are easy to read on screen. If you need accessibility captions, you care about timing and line length. If you need a blog post, show notes, or an internal reference document, you care more about clarity and flow. I usually decide that before I touch the file, because the right format saves a lot of cleanup later. That leads straight into the next issue: the file itself.
Why the MP4 file format matters less than the audio inside it
An MP4 is a container format, which means it can hold video, audio, subtitles, and metadata in one file. For transcription, the visual part is rarely the problem. The real driver of quality is the audio track inside the file. A sharp 4K recording with distant, echoey speech will transcribe worse than a modest-looking clip with a clean microphone signal.
When I am deciding whether to keep the MP4 as-is or extract audio first, I use the goal of the project and the quality of the source. If the transcription platform accepts MP4 directly and the file uploads quickly, I leave it alone. If the file is large, noisy, or inconsistent, I often extract the audio track first. WAV preserves quality well for archiving and editing, while MP3 or AAC is usually smaller and easier to move around.
| Option | Best when | Why it helps |
|---|---|---|
| Keep the MP4 | The tool accepts the upload and the file is already clean | Simplest workflow, no extra conversion step, and picture plus sound stay together |
| Extract to WAV | You want the safest quality for long-form interviews or archival work | Uncompressed audio is easier to preserve and can reduce avoidable degradation |
| Extract to MP3 or AAC | You need a smaller file for faster transfer | Good enough for most speech, especially when the original audio is already clear |
So the extension matters, but not as much as people think. If the speech is clear, the transcript will usually be strong. If the recording is messy, no file format will fully rescue it. That is why I always check the source before I start the actual workflow.
A workflow that turns raw video into a usable script
My preferred process is simple, but it works because it separates speed from quality. I use the machine to create the first draft, then I use my judgment to make it readable. For most projects, that means three passes rather than one rushed export.
- Check the audio first. Listen for background noise, overlapping voices, music beds, and clipped speech. If the speaker is too quiet, fix that before transcription.
- Choose the output you actually need. If you want subtitles, choose a timestamped export. If you want a readable document, choose plain text or DOCX.
- Generate the first transcript. Upload the MP4 or extracted audio and let the tool produce the rough draft.
- Clean the text against the source. Correct names, technical terms, punctuation, and any lines the model misheard.
- Format for the final purpose. Break the text into paragraphs, add speaker labels if needed, and export again in the right file type.
For a clean 10-minute clip, an AI first pass often takes only a few minutes. The review stage can take another 5 to 15 minutes if the content is straightforward. Longer interviews, accents, poor microphones, or multiple speakers push that time up quickly. The important part is that the workflow stays controlled instead of becoming a messy copy-paste exercise. Once the draft exists, the real question becomes how much of it you should trust.
AI transcription, manual transcription and the hybrid approach
There are three realistic ways to handle video-to-text work, and each has a place. I would not use the same method for a polished company interview, a noisy team meeting, and a live webinar. The table below gives a practical baseline for a 10-minute clip with clear speech.
| Approach | Best for | Typical turnaround | Strengths | Limitations |
|---|---|---|---|---|
| AI transcription | Fast drafts, captions, content repurposing | About 2 to 5 minutes | Very quick, low effort, good for a first pass | Can struggle with accents, crosstalk, jargon, and poor audio |
| Manual transcription | Legal, medical, broadcast, or quote-sensitive work | About 40 to 60 minutes | Highest control and best for exact wording | Slow, expensive, and not practical for high volume |
| Hybrid workflow | Most creator and marketing use cases | About 5 to 15 minutes after the AI draft | Good balance of speed and reliability | Still needs human review for accuracy and tone |
For most video teams, the hybrid approach is the sweet spot. It is fast enough to keep up with production, but careful enough to produce text you can actually reuse. If the content is sensitive, heavily technical, or likely to be quoted, I would still put a human review in the loop even if the first draft is machine-generated. That is where the text becomes worth publishing rather than merely possible to publish.
How to clean the transcript so it reads like a real script
Once the draft exists, cleaning it is where the value appears. I am not trying to make the speaker sound perfect, and I am not trying to preserve every awkward pause either. I am trying to produce a text that feels faithful, readable, and useful.
- Remove filler words selectively. Keep the speaker’s meaning, but cut the endless “um”, “you know”, and repeated half-sentences that add noise rather than value.
- Correct proper nouns. Names, product titles, places, and technical terms are the most common failure points in automatic transcription.
- Split the text by topic or speaker. Long uninterrupted blocks are hard to read and hard to edit later.
- Use British spelling consistently. If the final audience is in the United Kingdom, keep spellings, dates, and currency formatting aligned with that audience.
- Keep timestamps only when they add value. They help with subtitles, reference notes, and editing, but they can clutter a plain article draft.
For interview material, I also keep an eye on tone. A transcript can be technically correct and still feel flat or awkward if the punctuation is wrong. Small changes, such as turning a run-on sentence into two clear lines, often make a bigger difference than people expect. The next section is about the errors that usually create that flat, hard-to-use result.
Common mistakes that create bad transcripts
Most weak transcripts are not ruined by one dramatic failure. They are ruined by a string of smaller mistakes that nobody catches early enough. These are the ones I see most often:
- Starting with bad audio. If the recording has music, echo, or overlapping voices, the transcription will inherit those problems.
- Trusting the first draft blindly. Even strong AI tools miss names, acronyms, and local references.
- Ignoring speaker separation. Without speaker labels, interview text becomes confusing very quickly.
- Over-editing the voice out of the script. If you remove too much personality, the text stops sounding like the person who actually spoke.
- Exporting the wrong file type. A caption job needs timestamps; a blog draft does not.
There is also a format mistake that matters more in practice than most people notice: using the wrong source for the job. A 90-minute meeting recording might be fine as an archive MP4, but if you only need the conversation, the audio track should be the working asset. That small decision can save time every time you revisit the material.
What to do with the script once it is clean
A clean transcript is not the end product. It is a source asset that can feed several other pieces of content. For a video team or creator, that is where the real return appears.
- Captions and subtitles. Export SRT or VTT when the text needs to stay in sync with playback.
- Blog posts and articles. Turn a long interview or webinar into a readable article with a clearer structure.
- Show notes and descriptions. Pull out names, topics, and timestamps for easier navigation.
- Training and internal reference. Keep a searchable written record for teams, compliance, or onboarding.
- SEO and repurposing. Rework the transcript into headings, snippets, and supporting copy for web pages.
A useful rule of thumb is that spoken language usually needs one more editing pass than people expect before it works well on the page. If you want the result to support accessibility, search visibility, or editorial reuse, the text should be shaped for that purpose rather than copied straight from the recording. That is why I treat the final step as an editorial choice, not a technical export.
The small choices that make the result reusable
When I want a transcript to stay useful later, I keep the source, the draft, and the cleaned output separate. That sounds minor, but it prevents a lot of rework when the same MP4 needs captions this week and a blog article next week.
- Keep the original MP4 untouched. It is your reference point if anything needs to be checked again.
- Store the raw transcript and the cleaned script separately. That gives you a rollback point if a later edit goes too far.
- Use clear filenames. Something like `interview-raw.mp4`, `interview-transcript.txt`, and `interview-captions.srt` is far easier to manage than vague version names.
- Match the export to the task. TXT or DOCX works for editing, SRT or VTT works for captions, and PDF is better for sharing than for further editing.
- Keep one style guide for the whole project. That includes British spelling, punctuation rules, speaker labels, and how you write dates or currency.
If I had to reduce the whole process to one rule, it would be this: protect the source, transcribe the speech, then edit for purpose. That order gives you something you can trust, whether the final output is captions, an article, or an archive transcript.